3D Printing
The Design

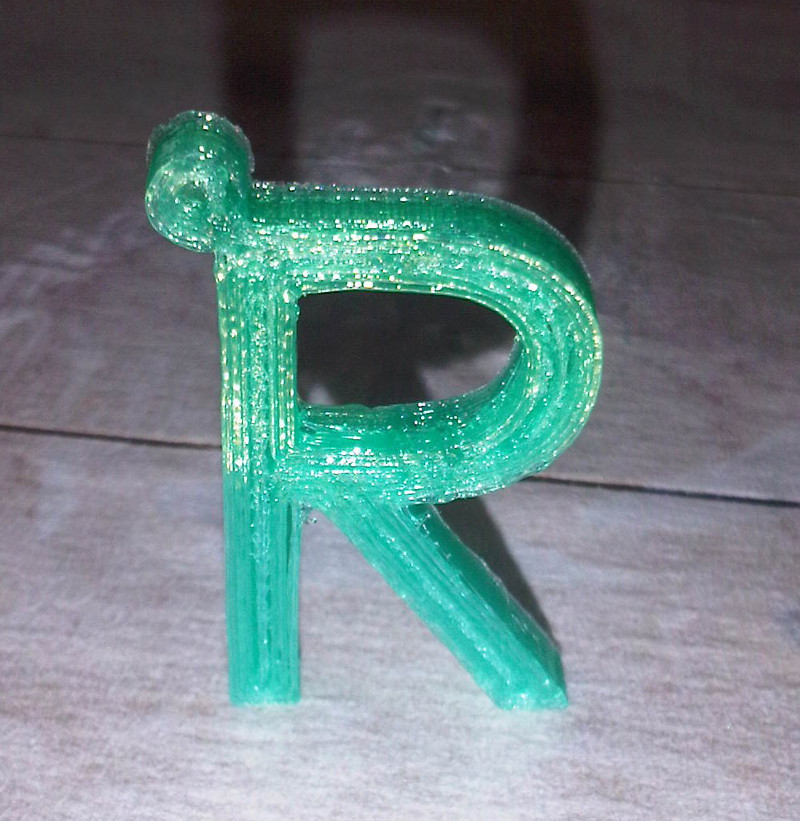
I chose to print a simple extruded letter R with a loop for attaching to a necklace. In hindsight a more complex 3D shape would have been a better object to print to take advantage of the capabilities of the technique.
Processing the File
Save as .stlDownload Slic3r for the website and installadd .stl > select parameters appropriate to your machine > export g-code (if anyone one would like the .ini file we used for the reprap, email me)
***At this stage slic3r was not able to generate the G-code due to 'holes' in the model, To fix this I uploaded the file to Netfabb Cloud Service and it was repaired immediately.
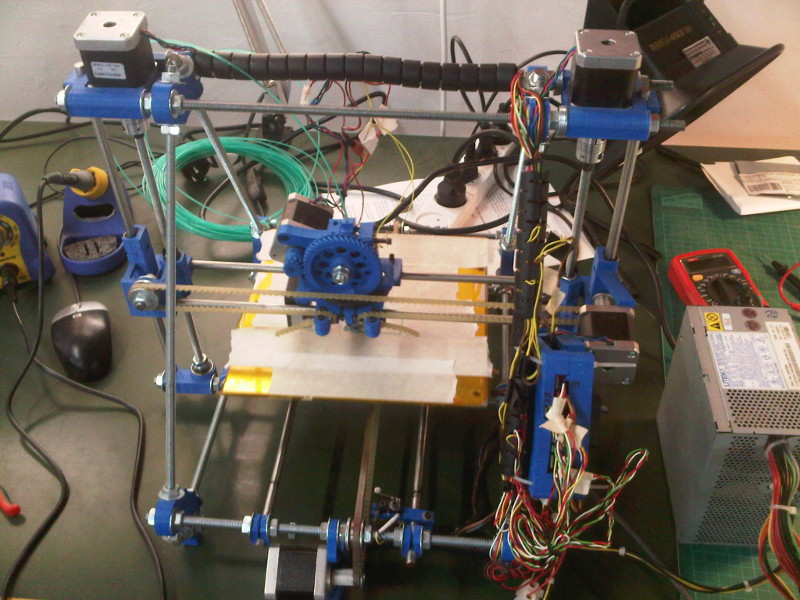
The Software & Printer
To control the RepRap I needed to download MacPronterface from the reprap wiki page.
in order for my mac to recognise the 'USB device' I then had to install the Virtual COM port driver from FTDIchip
select the RepRap (tty.usbserial.....) from the 'Port' dropdown
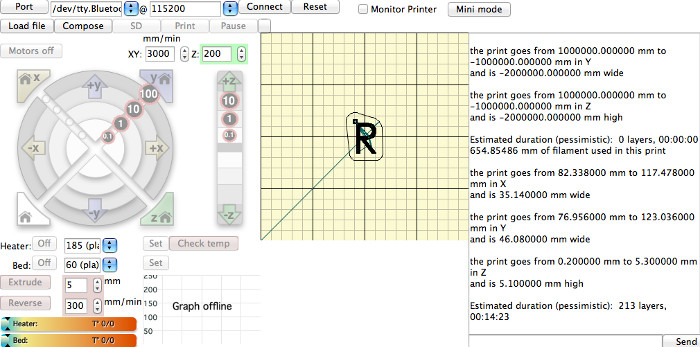
Loading the G-code will import the settings you defined for the extruder temp, bed temp etc. but you can manually alter these using the Macpronterface interface. It also allows you to manually zero, move and home the extruder head (at different step sizes)
Printing
We printed using PLA spool. With a run-time of approx 12mins. The dimensions of the R were approx 25*30*5 mm.
The Result
Improvements
As the photo shows, the printer has not completely filled the 'full layers' on the upper (front) surface of the R. In Slic3r I selected 3 full layers at start and end, this wasn't enough.
A more complex design would have taken better advantage of the technique.